2007-2021 Toyota Tundra Metal Oil Filter housing Install
Changing out the plastic crack prone filter for a metal filter from a Toyota Avalon!
KP
11/3/20254 min read
The 2007-2021 Toyota Tundra and most Toyota's from this vintage have a janky plastic oil filter housing that is prone to cracking and breaking. That didn't sit well with me so i started to do some research and found out that the Early 2000's Avalon came with a metal filter housing PN# 15620-31060. You can get this from Amazon through my affiliate's link here. https://amzn.to/4hCDSYW This seemed like the exact item that I wanted to have on my truck. I had noticed some light weeping of oil on the stock plastic housing and wanted to address on my next oil change. I'm not going to detail the oil change process as I'd hope most know how to do that. But I'll detail what needs to be done to make the housing work for you.
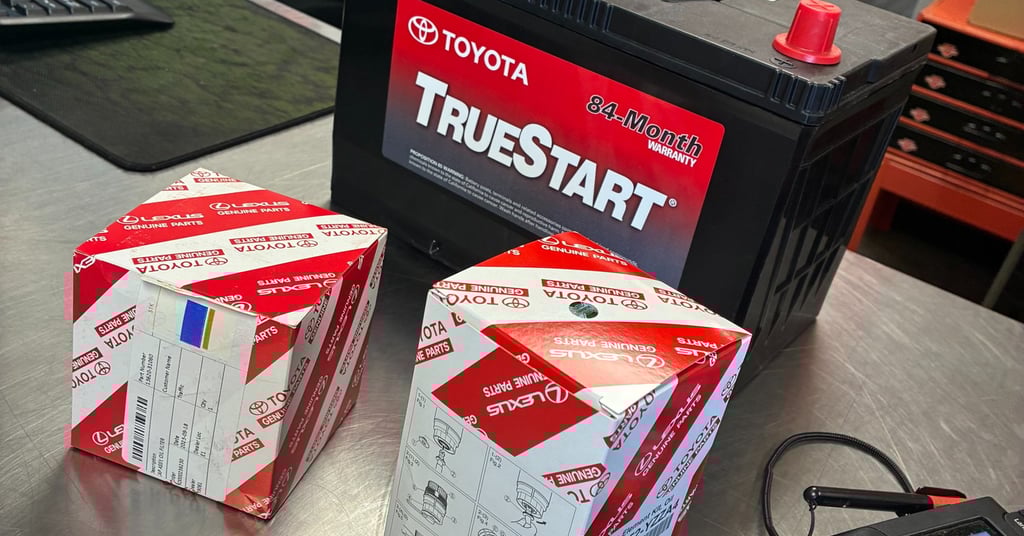
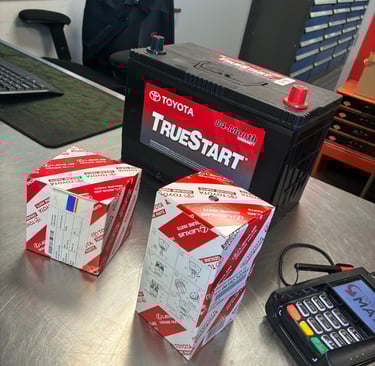
I Purchased part # 15620-35160
I ordered the parts from Toyota as I was needing a battery as the one in my truck was from 2019 and I'm heading into winter and didn't want to worry I am pretty picky when it comes to my parts as I have learned many times OEM is best when you're not trying to upgrade. So I got a Toyota Battery and my filter housing along with 4 filters so I'm good on oil changes for a year or two hopefully.
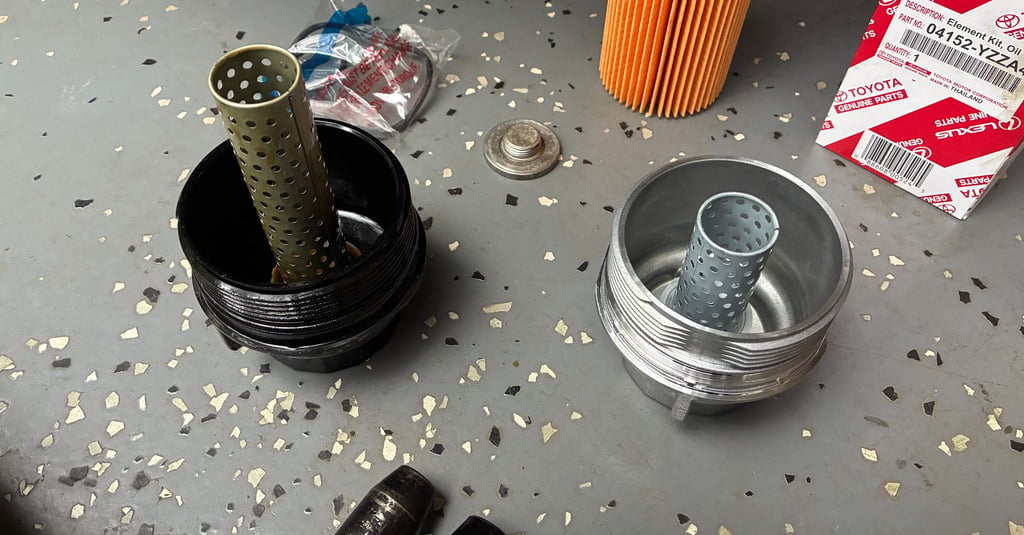
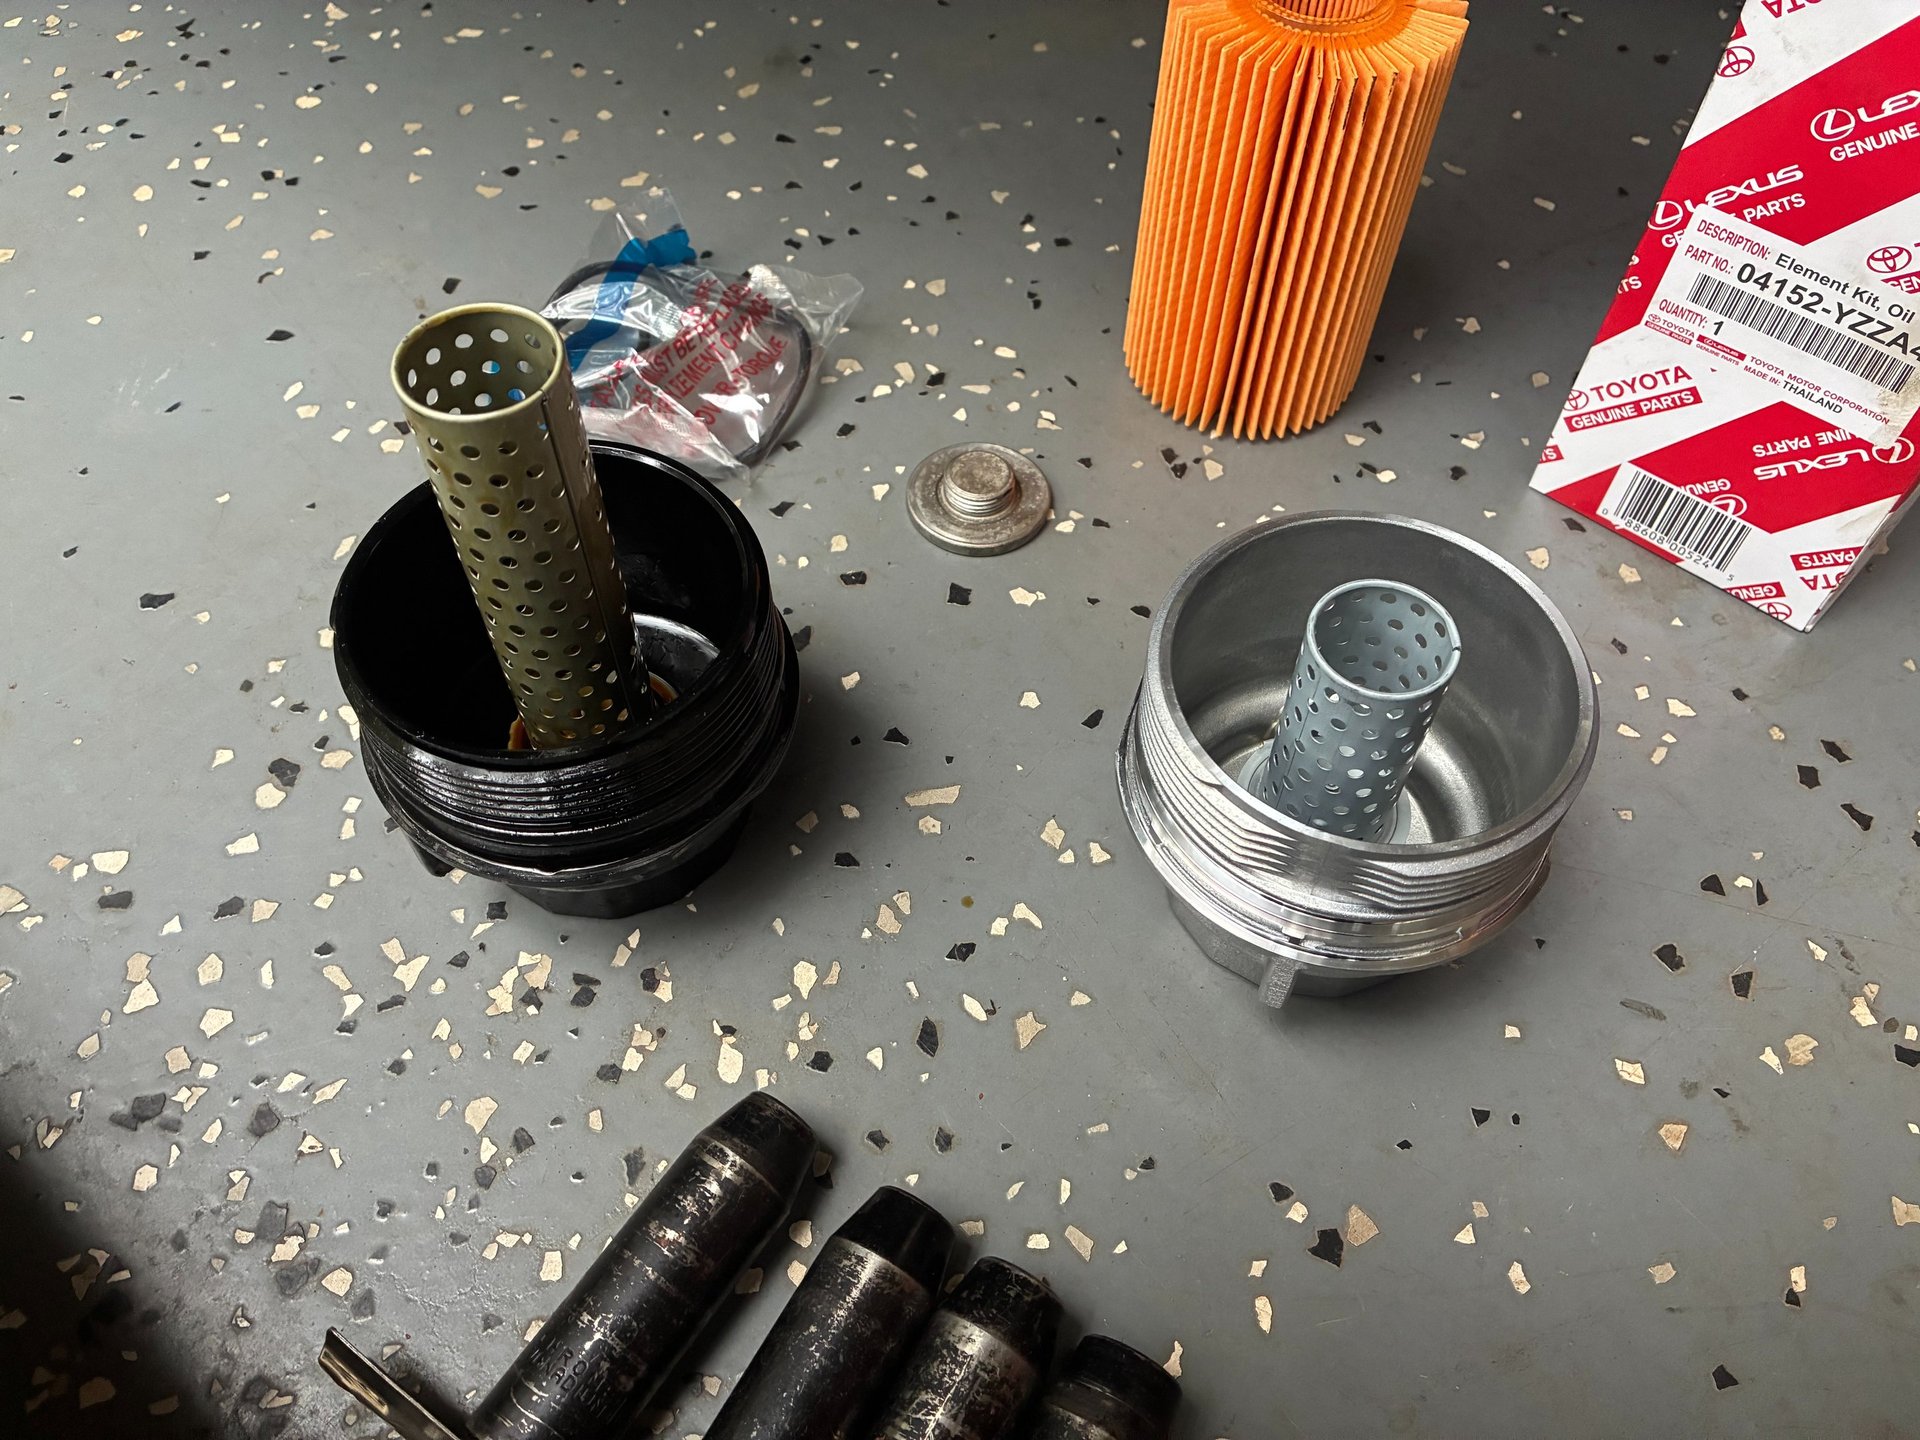
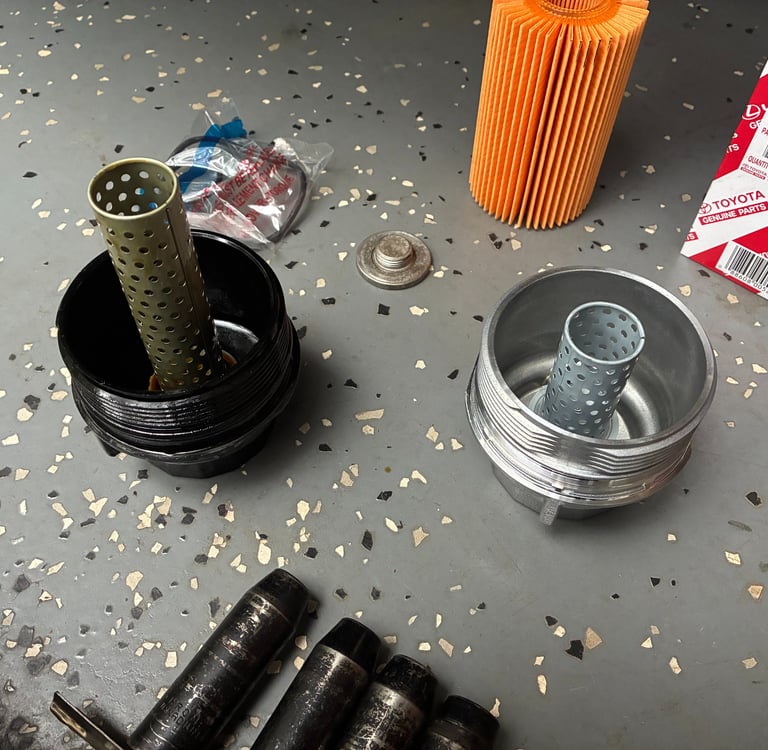
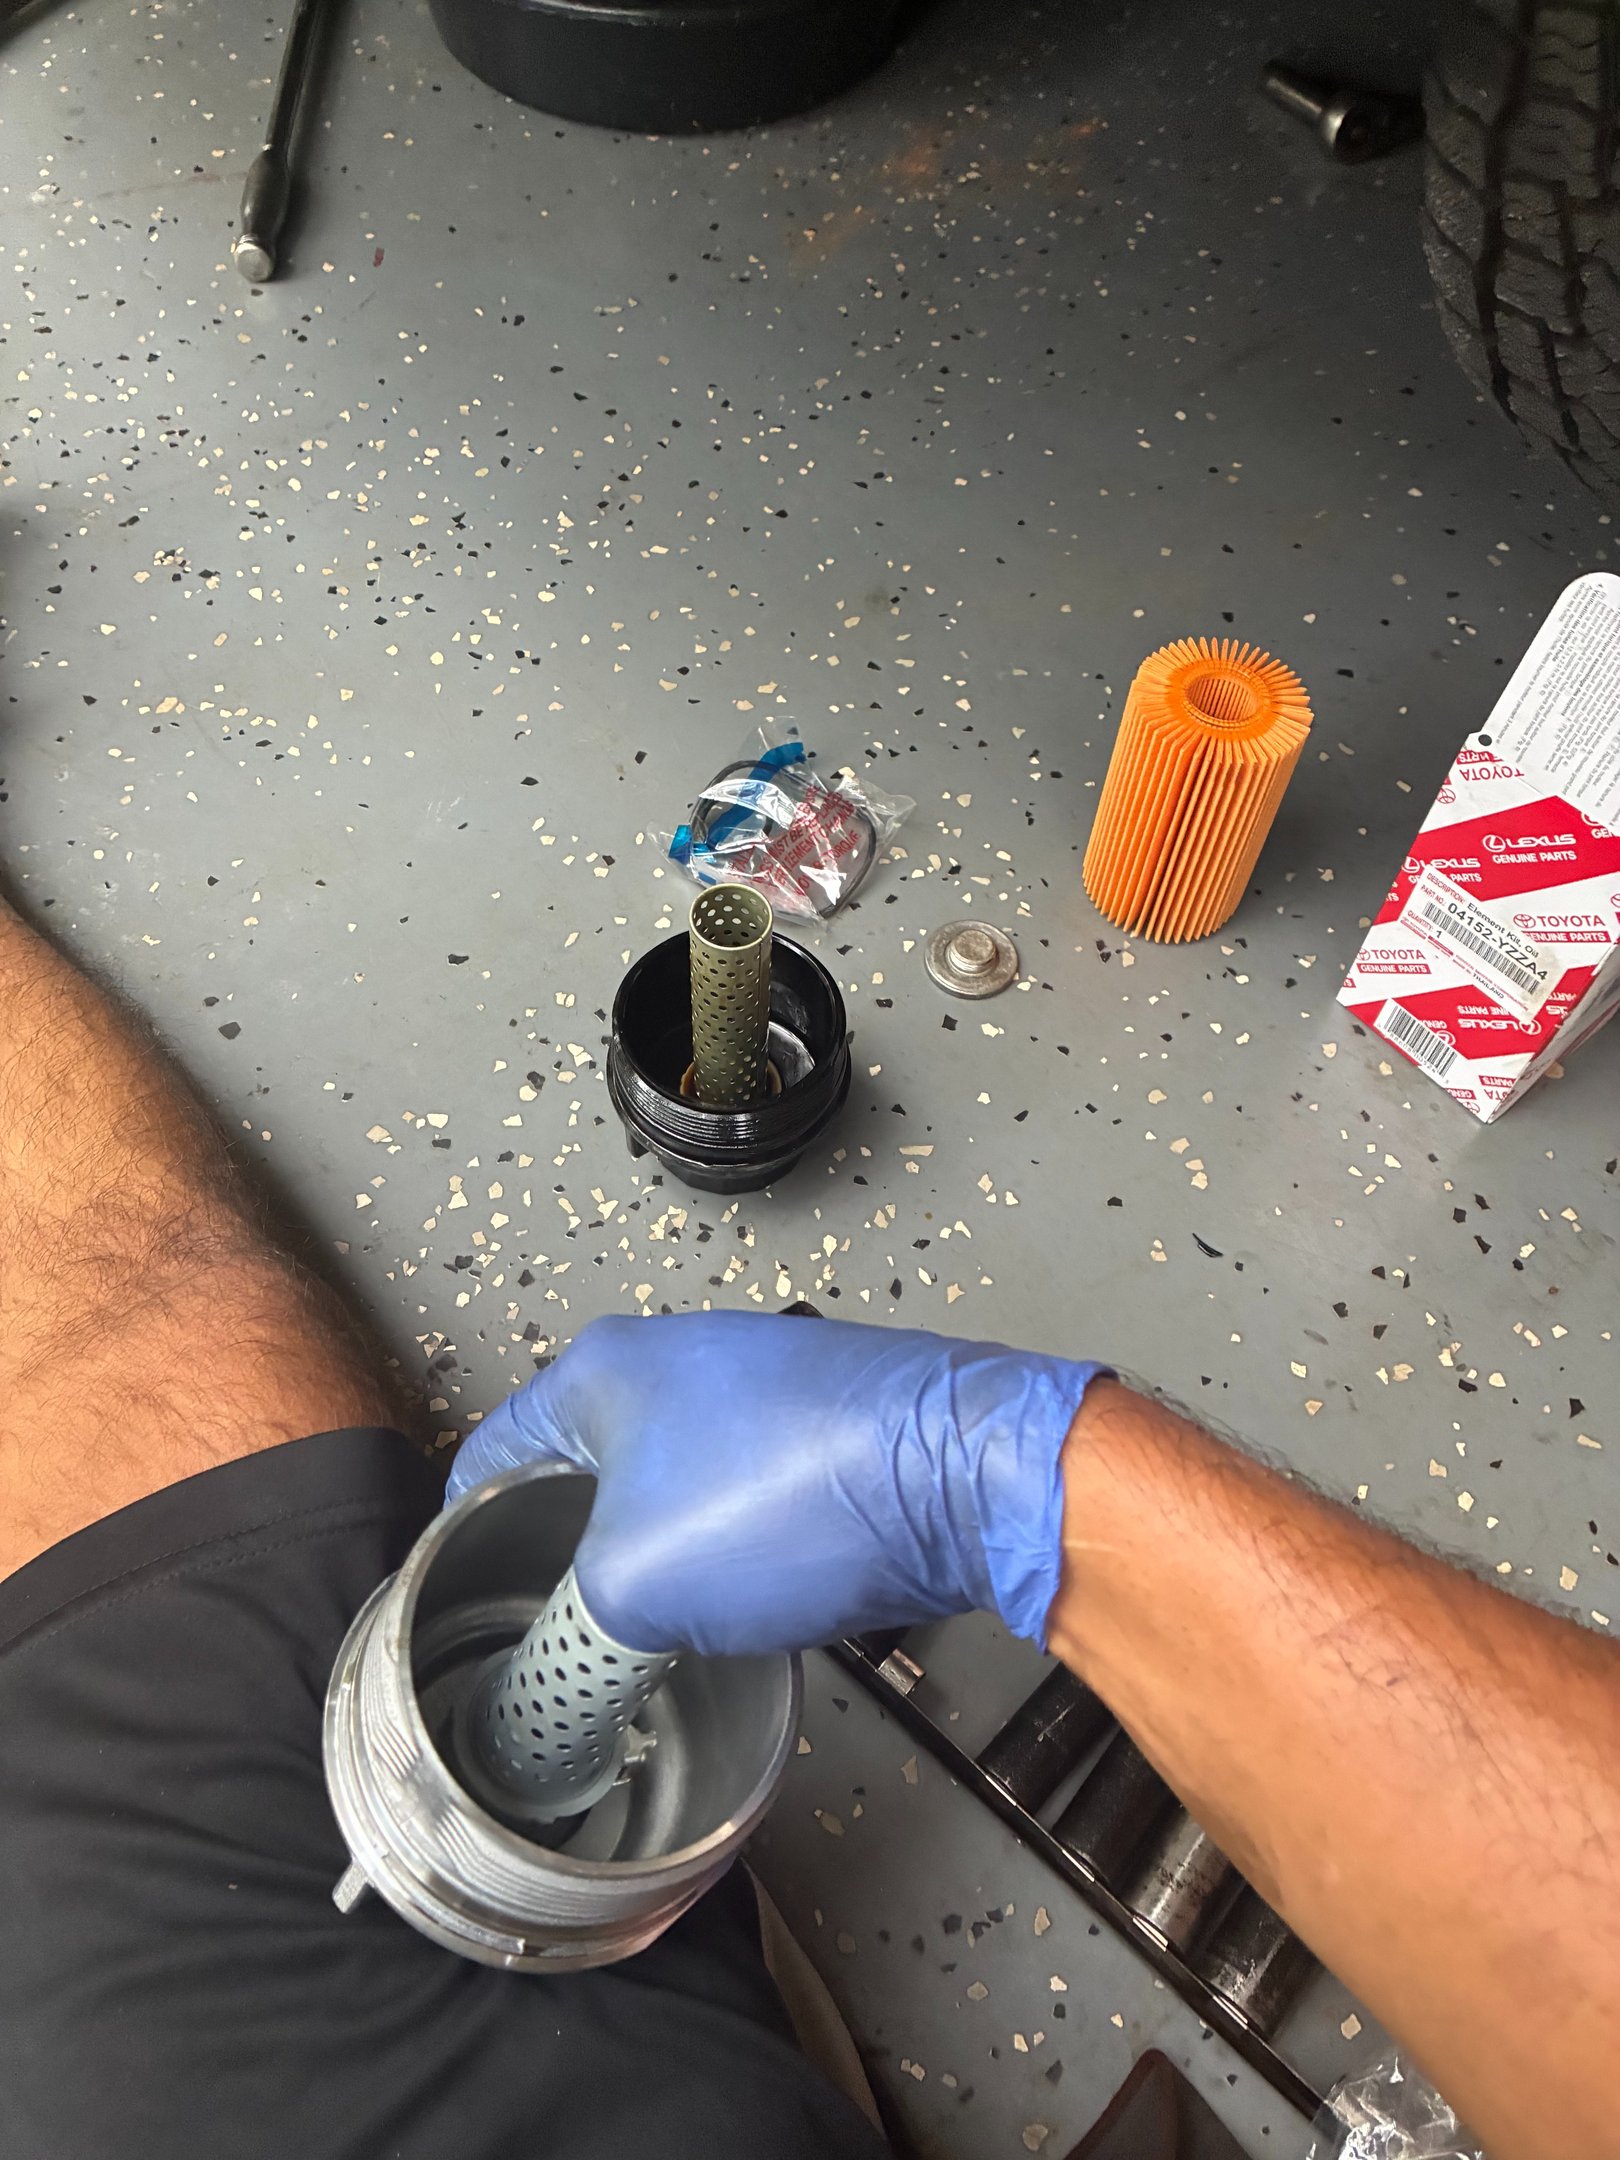
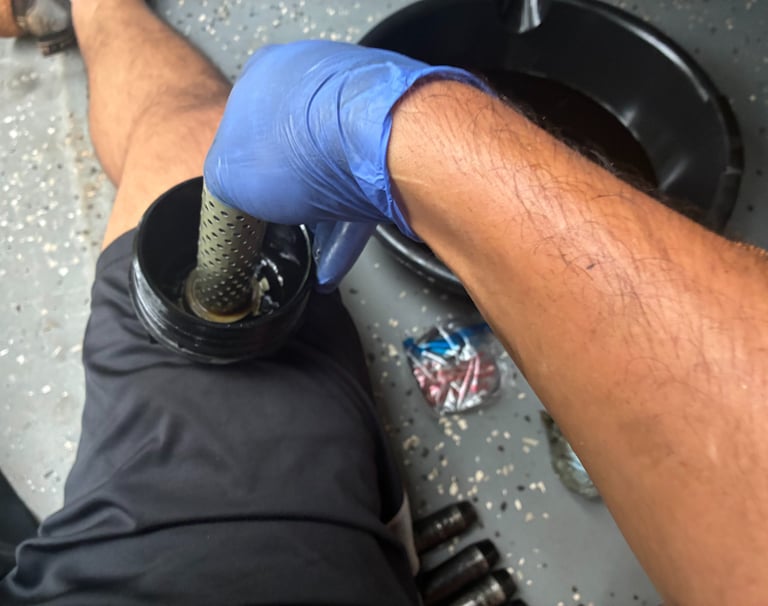
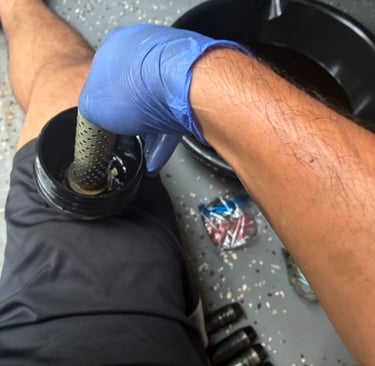
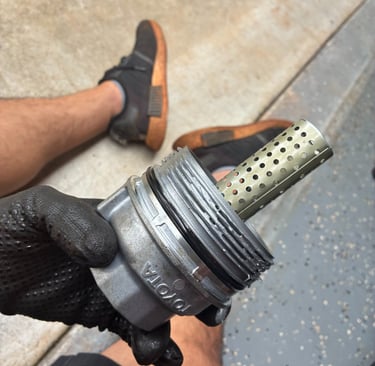
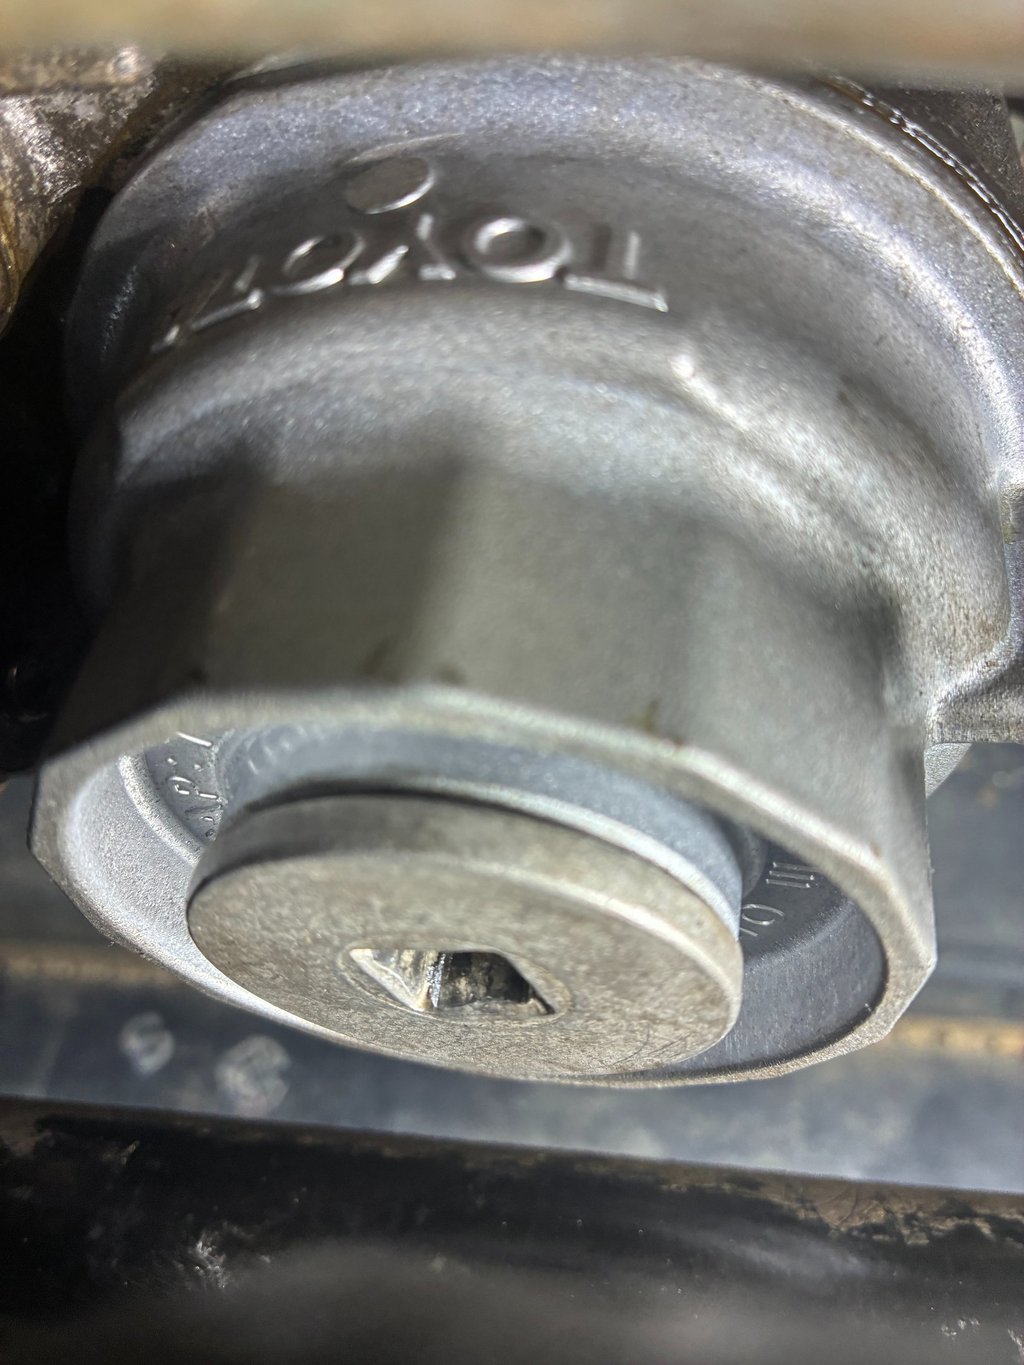
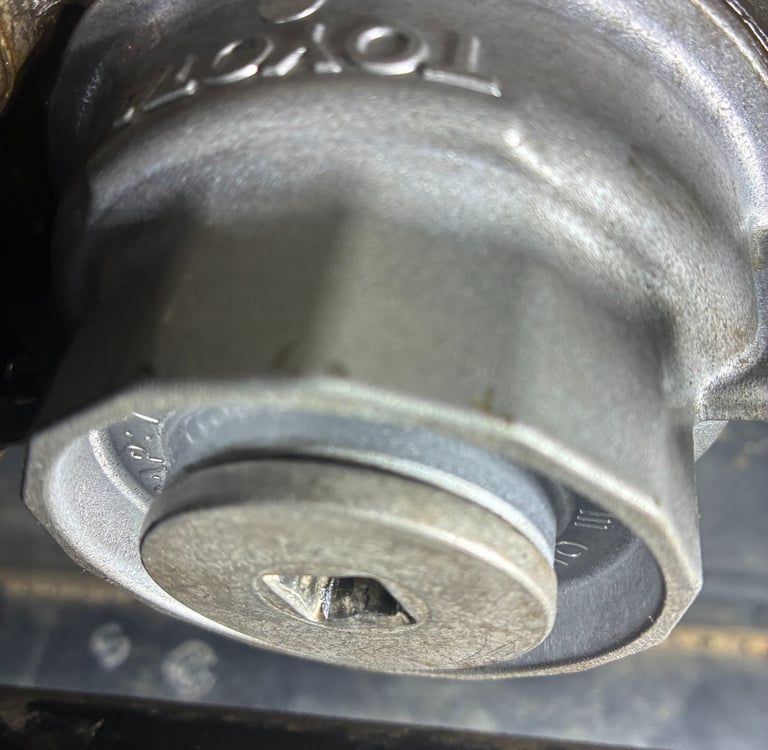
Getting the parts home I took off the oil filter housing from the truck and compared the two. Aside from the obvious advantages of metal this will look great on the bottom of the truck and will hopefully just add to an already reliable package. You'll notice the difference in the length of the filter housing center. This will be the only item that we'll be keeping from our original housing. This MUST be done if you do not transfer this filter housing center piece over you will not be oiling the complete filter housing and could run into oil starvation issues.
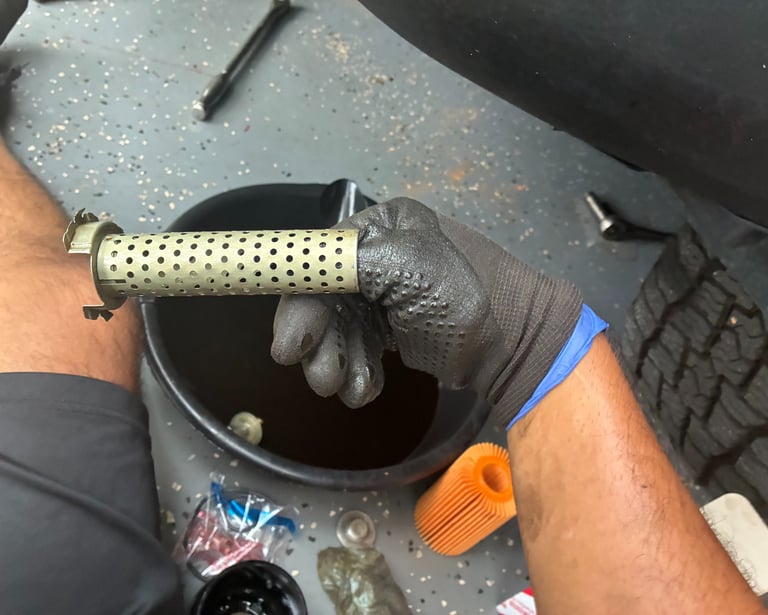
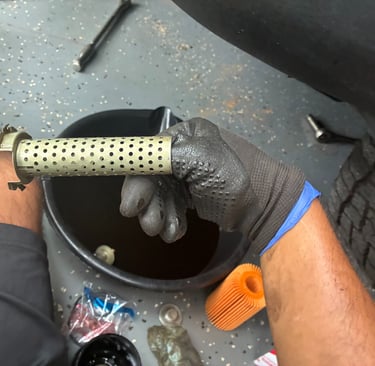
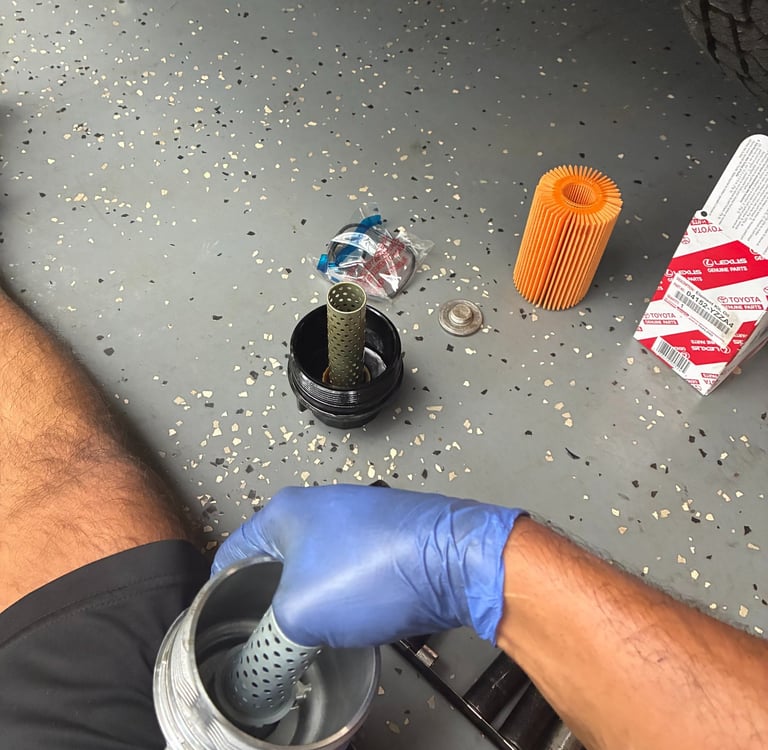
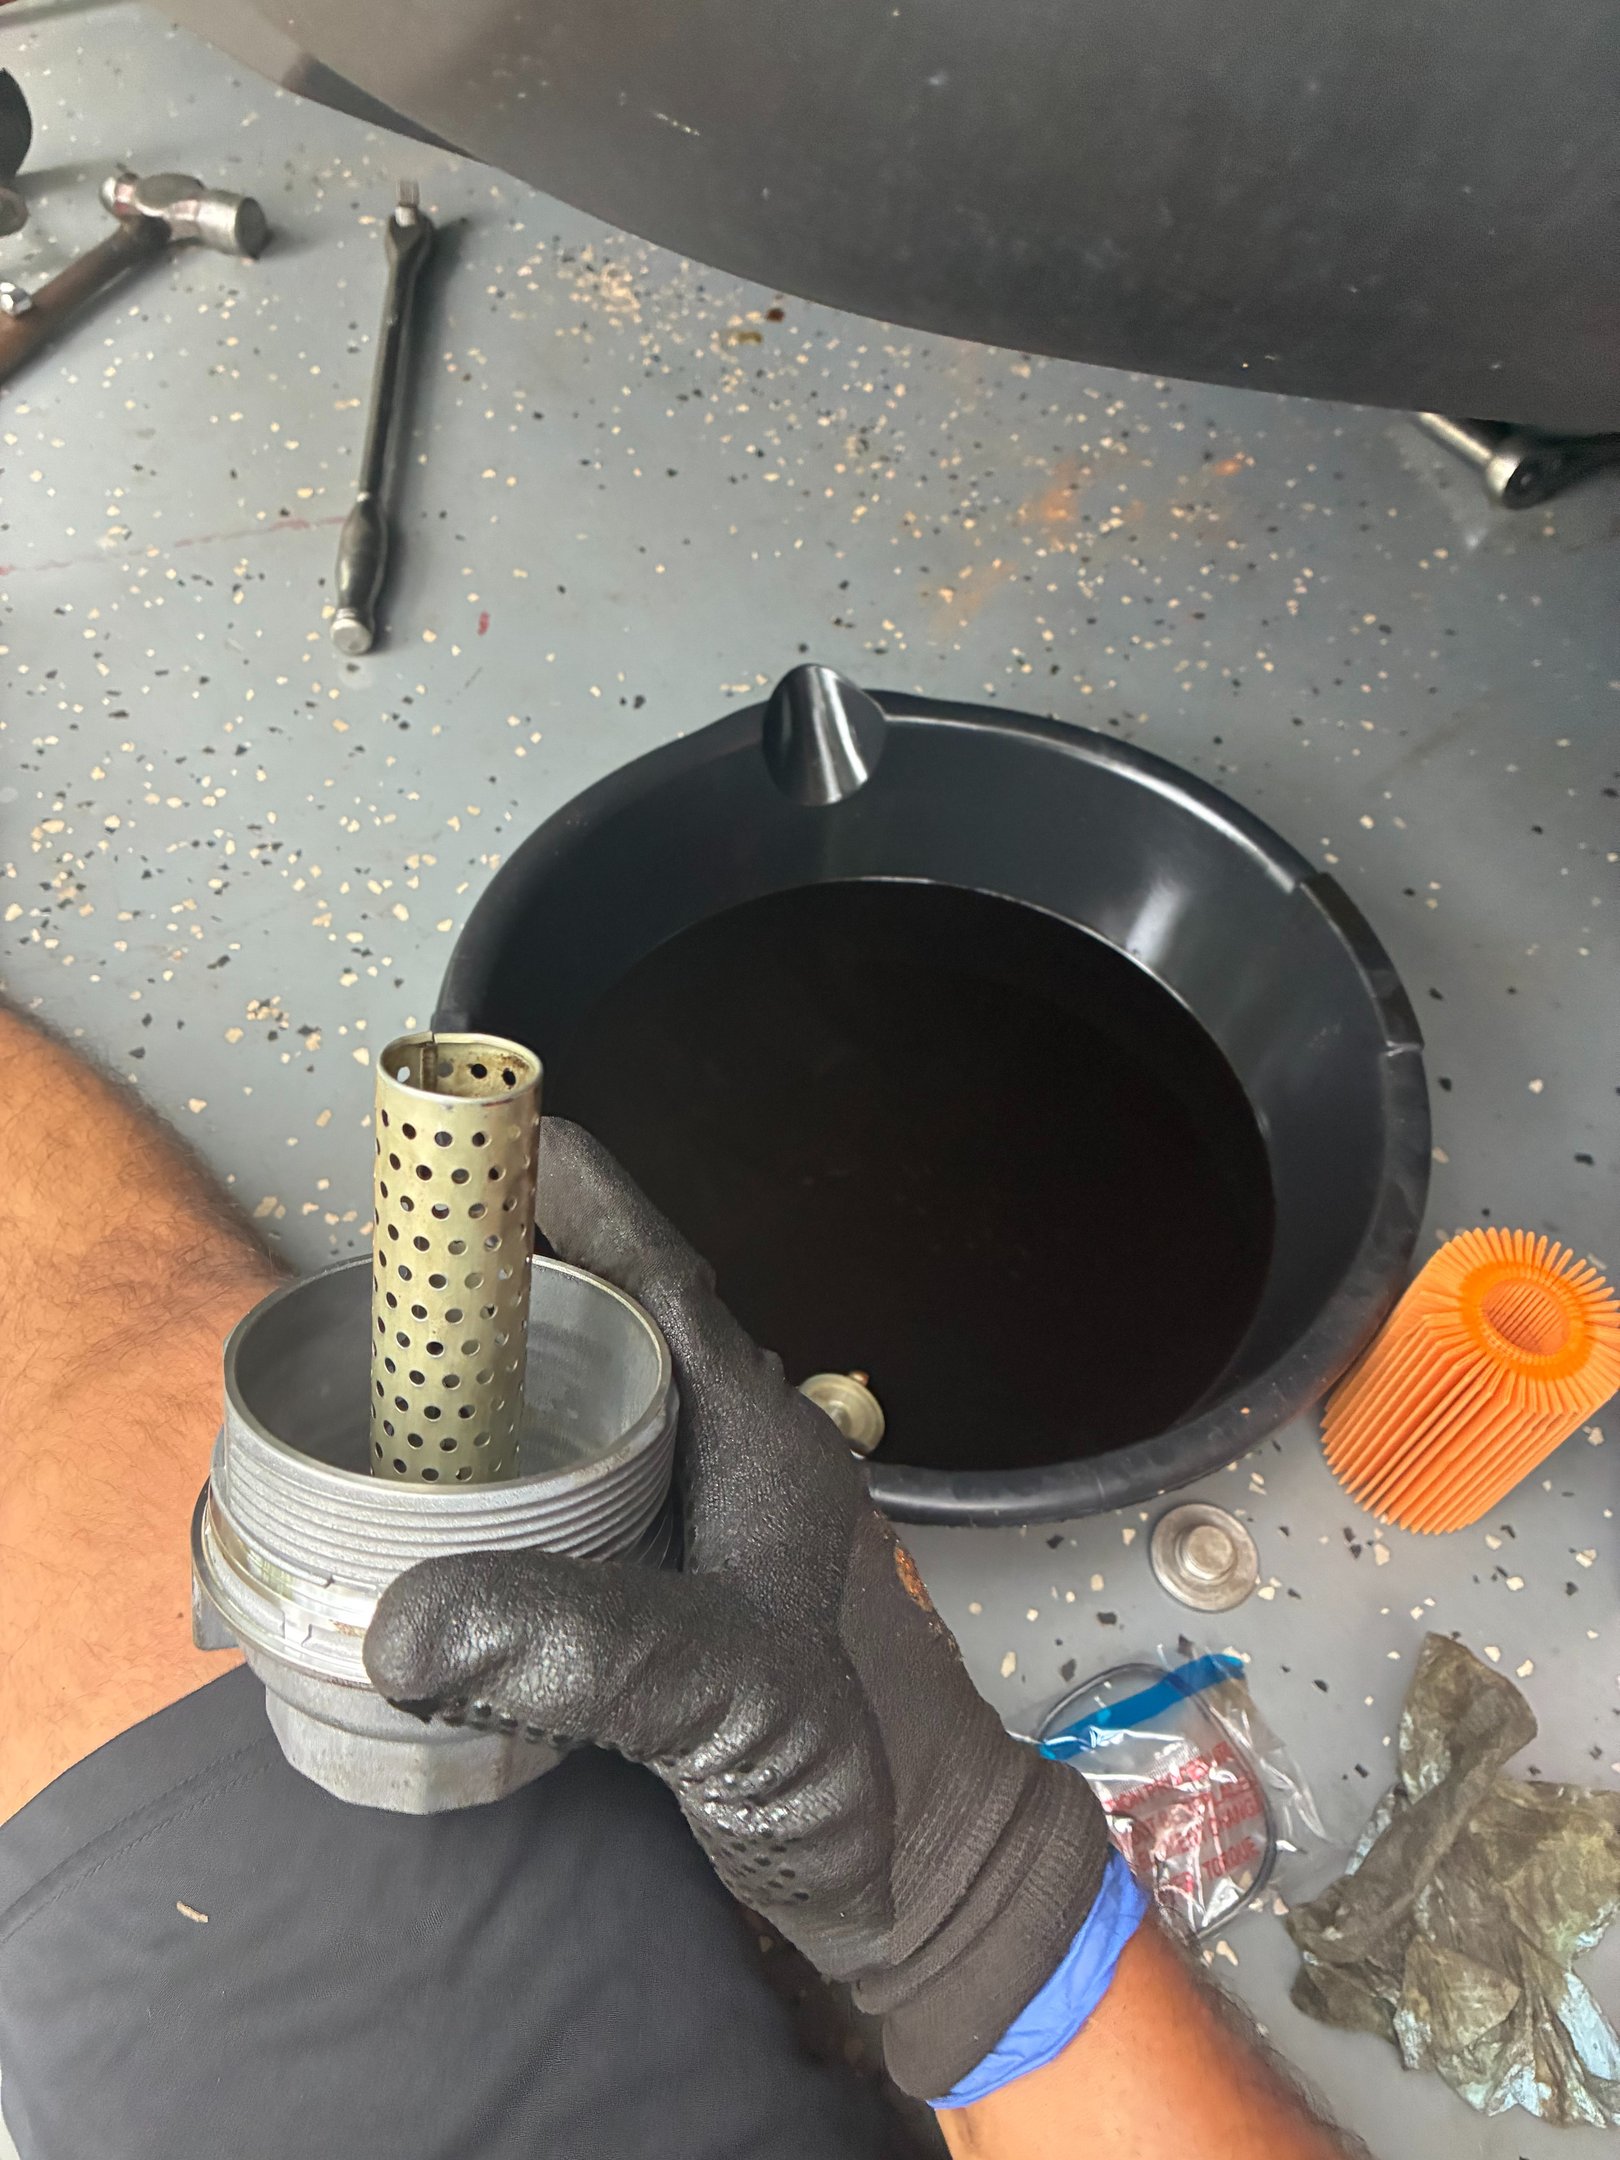
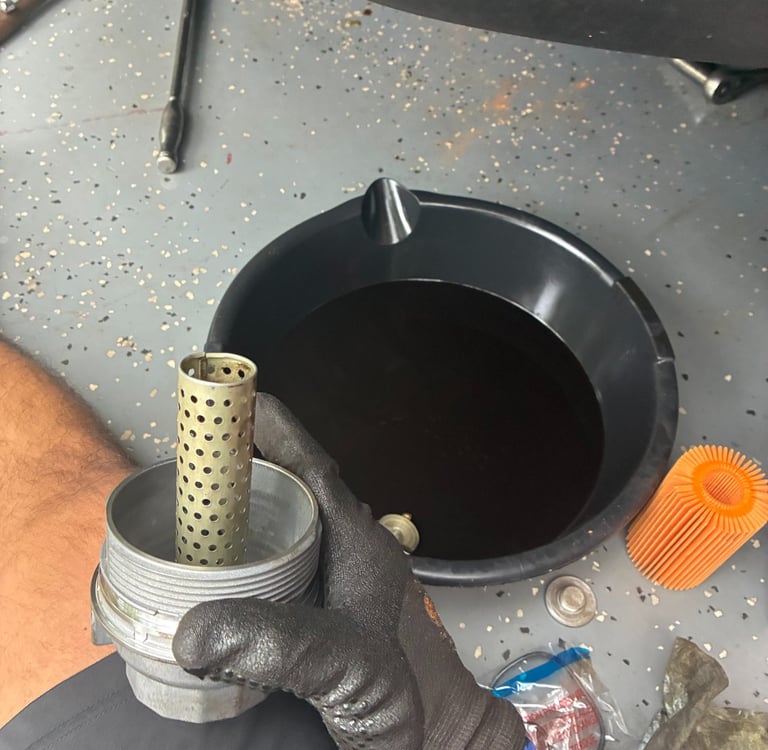
To Remove the filter housing center tube start with the new metal housing to get the feel of the process and you won't have to worry if you mess up the center tube section on the metal housing as that one will be tossed anyways. You'll see the small tabs on the bottom of the tube that have to clear the tabs on the metal housing. The best way to describe the process is to stick your thumb into the tube and wiggle the tabs to the back corner of the filter housing. When this is done gently tilt the tube to the side. It'll take a couple tries but it basically pulls out with little to no bending on the aluminum tabs.
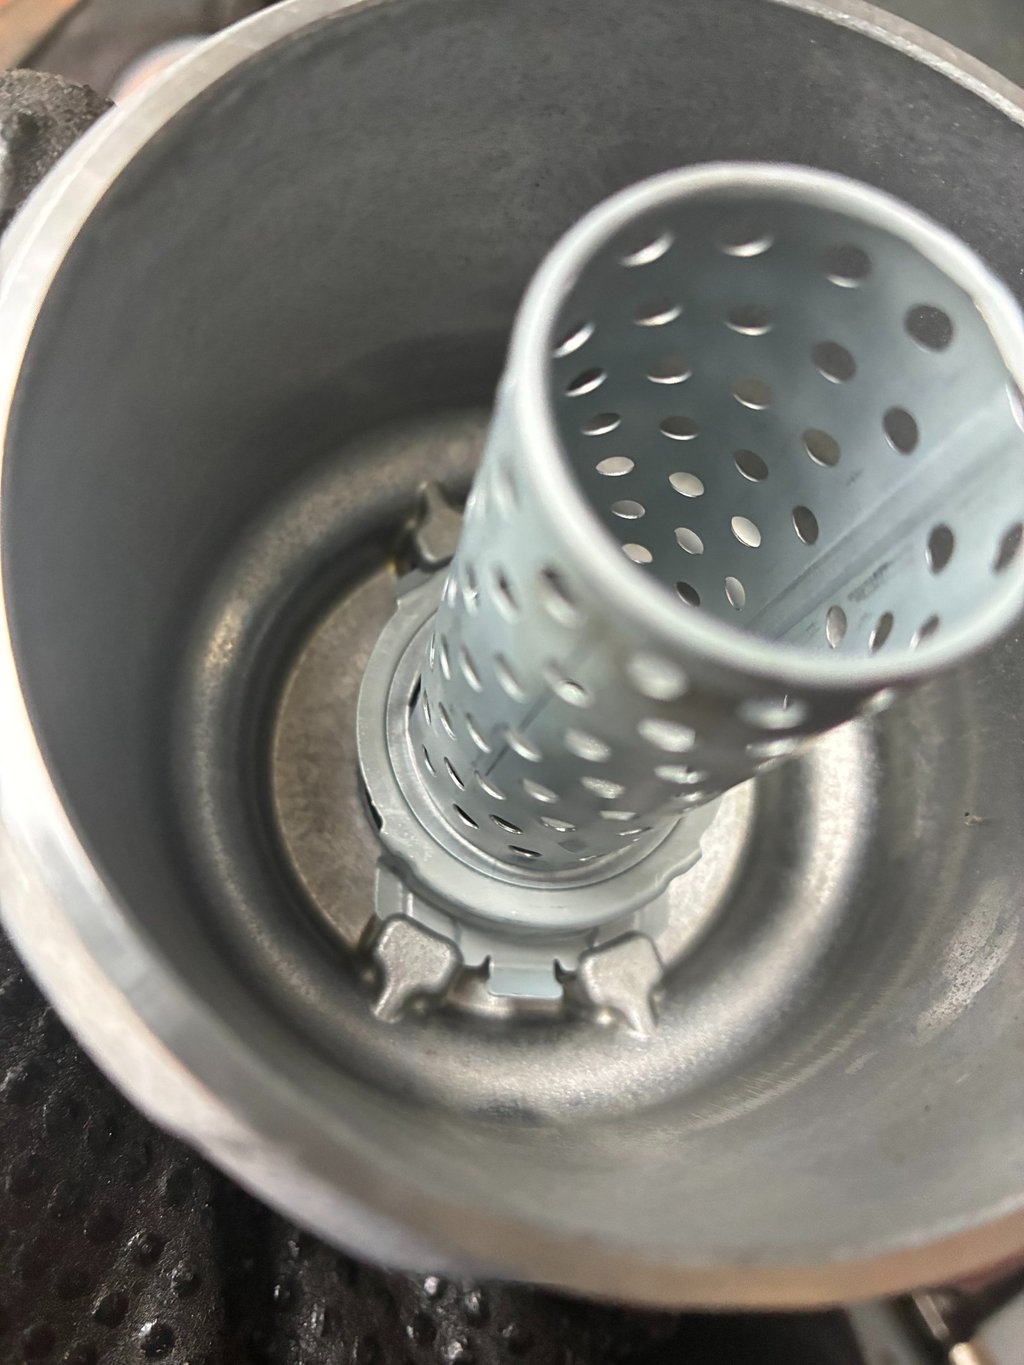
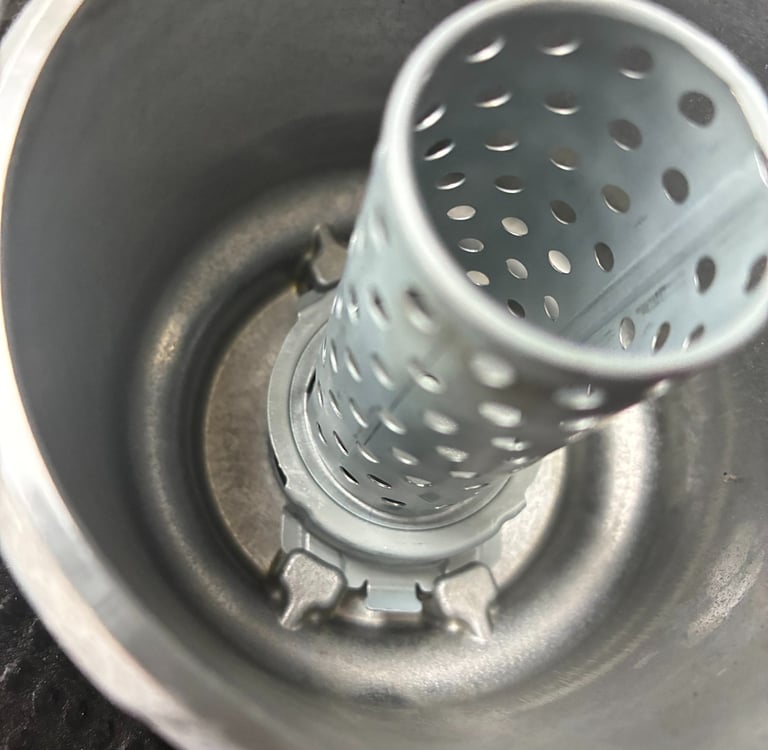
Once the tube is freed repeat the steps with the plastic filter housing and place the longer aluminum tube from the plastic housing onto the metal housing. Make sure to re-use the spring that comes with the longer tube.
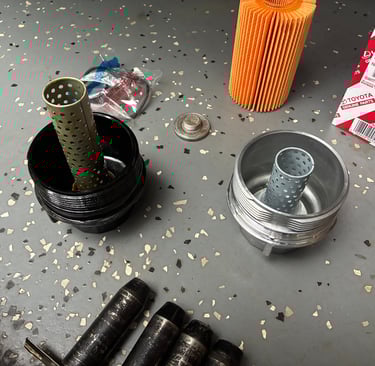
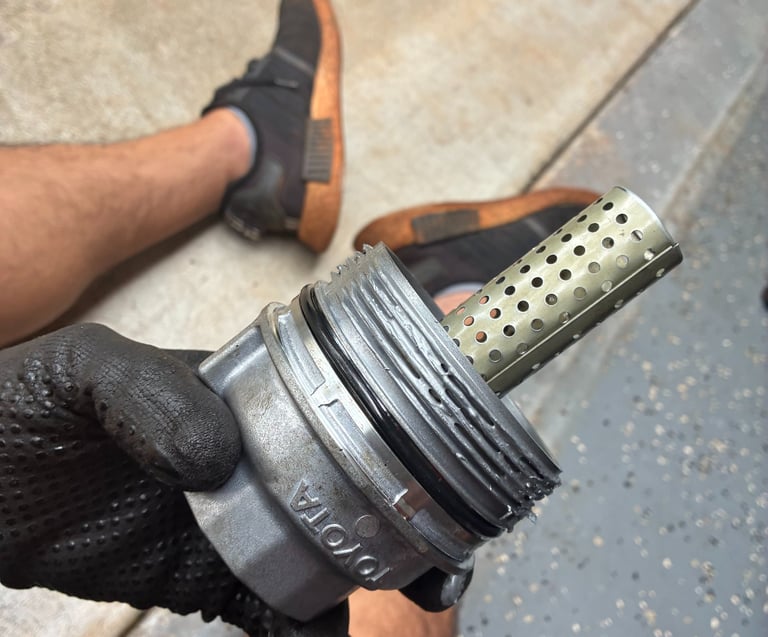
Here is the finished assembly with the old tube in the new filter housing. It's a very simple effective item and I'm surprised Toyota of all companies would risk their reputation on some crappy plastic housing. Shockingly the plastic housing is more expensive than the metal one on Toyota's website!
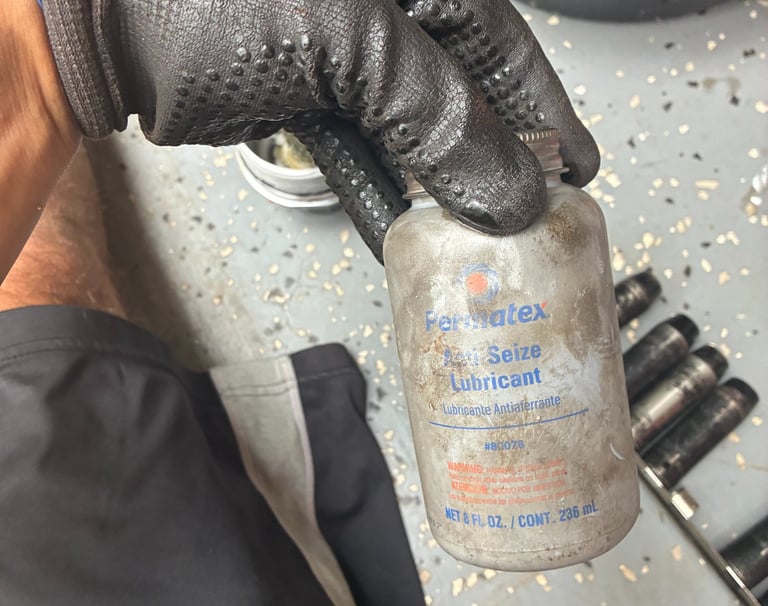
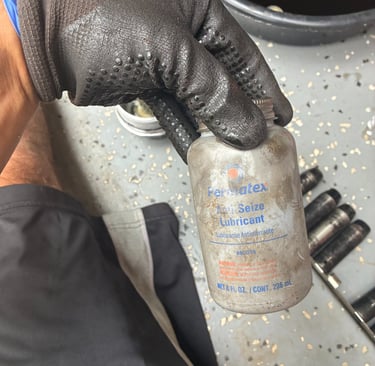
Now that the center tube is attached I decided to put the tiniest amount of antiseize on the threads. This is not something that is needed but I wanted to make sure that I wasn't going to get surprised the next time this comes off. Somehow as soon as you open the bottle of antiseize you'll just end up finding silver antiseize on everything but a small dab can go around the bottom of the threads of the filter housing. Do not put on a huge coat the and try to avoid going above the top of the threads with anti seize a little bit will go a long way.
Reinstall the gaskets on the filter housing that come with the new Toyota filter.
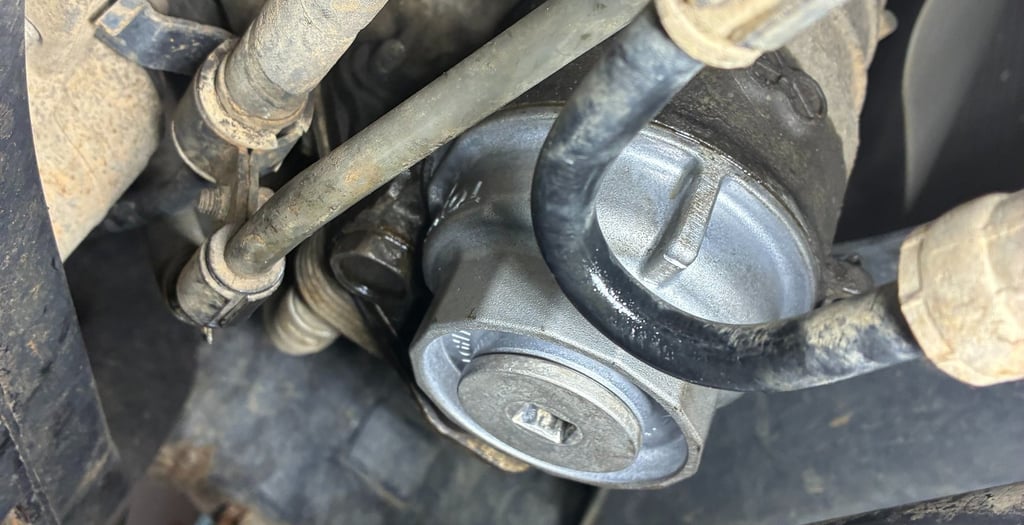
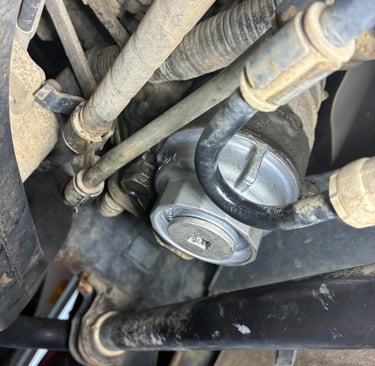
Go ahead and place the filter back into the truck. Get the warm and fuzzies because your filter housing says Toyota right back at you and it won't crack or worse break off at the area that the wrench goes on and have you figuring out how to break the rest of the housing to get it off.